
My good friend is having a beach pool party and I told her I would make the cookies for the party also. She really liked these snow cone cookies she saw on Pinterest. Not surprising it is a post from Bake at 350's on Parade Magazine's website.
 |
| Snow cone cookie from Bake at 350 |
But what about before you bake the cookies? My mother told me in recent years that she had the most trouble rolling and cutting her sugar cookies so I figured I would show you how I do it.
I actually don't use the sugar cookie recipe from Bake at 350. I use one I found years ago at All Recipes that you can find here. It was submitted by Jill Saunders and I love it. I am retyping the recipe below and cutting in half because if you make them the way I do, half the recipe will make you about 40 cookies which is typically a nice size batch.
I follow the recipe exactly as listed. I use my kitchen aid the standard attachment. I never remember to take my butter out in time so I put in the microwave for 1 minute on the lowest power level. This softens the butter without melting it.
Then I place two pieces of saran wrap on my counter on top of each other perpendicular so it makes a t (sorry I didn't think to take a picture of this). Then I plop my cookie dough on the middle of the cross and smoosh it out. I fold over the edges so it is a square and flatten as much I can so it likes like the below.

Sometime before I start rolling and cutting my cookies, I typically sketch out the cookies I want to make. This way I have an idea of what cutters and colors I will need.

Don't they look like the real thing? Well maybe not. How I do this is by taking my cookie cutters and placing them on a piece of paper and then trace the inside. I then sketch any additional lines and use munchkin's crayons to color if I am worried about what colors might look like together.
After it has been in the fridge overnight the butter will harden and it will be much easier to work with. Take it out and get your parchment and cookie cutters. I also keep a small amount of flour in an old (but thoroughly cleaned) spice jar.


Then place your dough down. Sprinkle a little more flour on top of it. Then place your other piece of parchment on top of your dough.


I also have these great rings that I put on my rolling pin. The came in a pack and they go on your rolling pin so that you roll your cookies the same thickness every time. These rings were created for rolling fondant but they work great for cookies. I like to use the 1/4" thickness for my cookies. Depending on the thickness of your cookie will depend on how long you cook them.


If you find the dough is sticking to the parchment pull it off and add a little bit more flour. I also like to flip over my dough and add more flour on the bottom. To flip it over, leave parchment on both sides and put one hand under the dough and parchment and the other hand on top. Then flip it over.

So roll out your dough so it is the same thickness all over. Then take the top parchment off and start cutting your cookies.


See how nice they look! Now sometimes the dough will stick a little. Don't fret. The parchment is there to help you. First, remove the extra dough around the cookie. Then put your hand under the parchment and lift up. At the same time you want to peel the cookie off the sheet like a delicate sticker.

So cut out as many cookies as you can from the dough and place them on your cookie sheets. I cover my trays in wax paper for the time being.


Once you have cut out all your cookies from the rolled dough, you will want to roll the extra dough into a ball and re-roll it. Sometimes I get too much flour on my area from re-rolling and other things.


I got to a point with these cookies that my dough got really hard to work with so I put it back in the plastic wrap, flattened it out and stuck it in the fridge for 15 or so minutes to help re-harden the butter. After that it was easier to work with and I continued rolling.
I like my cookies to stay in the fridge for about 15 minutes before baking them. Like I said this helps them keep their shape while baking. I like to bake my cookies on a silicone mat.
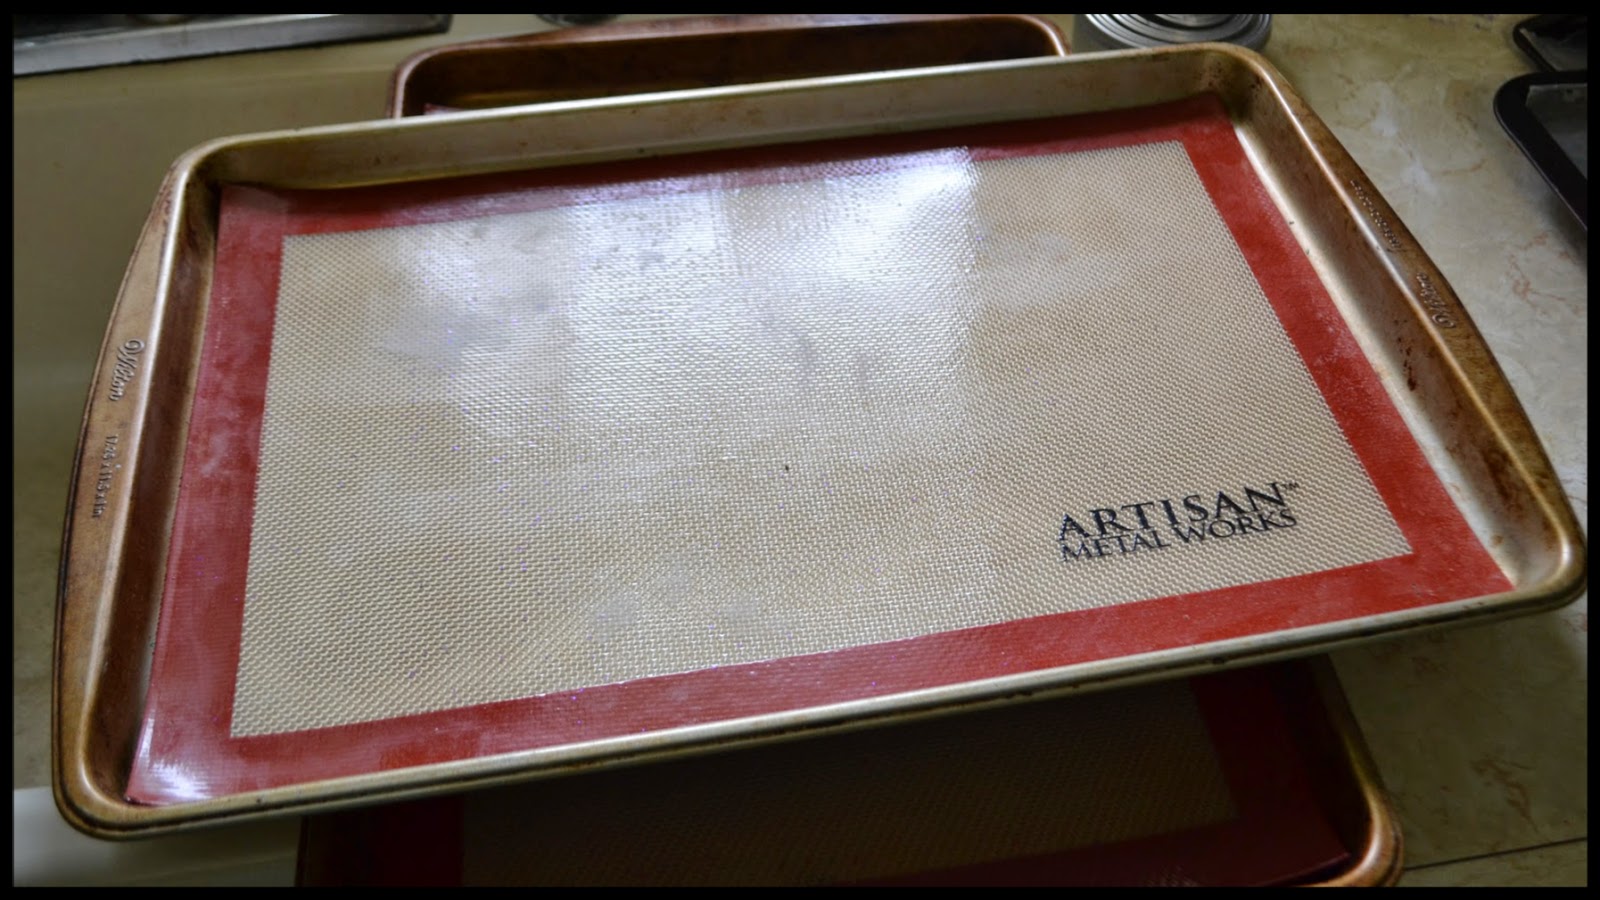
I find it is easier to pull them off and they brown nicer. I never used to use silicone mats, I would just use tin foil but I got these mats from my mother for Christmas one year and love them. (Thanks Mom!) They fit perfectly on a 12.25"x 11.5" cookie sheet.
I also like to bake my cookies so the same type of cookie is on one tray. This helps me keep an eye on how many I have of each type. In this case I had one too many beach balls so I turned it into a life preserver.


Aren't they pretty?
Sugar Cookie Cutouts

3/4 cup butter, softened (1 1/2 sticks)
1 cup white sugar
2 eggs
1/2 teaspoon vanilla extract
2 1/2 cups all purpose flour
1 teaspoon baking powder
1/2 teaspoon salt
1 cup white sugar
2 eggs
1/2 teaspoon vanilla extract
2 1/2 cups all purpose flour
1 teaspoon baking powder
1/2 teaspoon salt
Tools:
Large mixer
Rolling Pin
Cookie Cutters
Wax Paper
Parchment
Cookie Sheets
Directions:
- In large mixer, cream together butter and sugar until smooth
- Beat in eggs and vanilla
- Slowly beat in flour, baking powder, salt on low speed
- Chill overnight
- Lay out parchment and sprinkle flour
- Place dough down, some more flour and another piece of parchment
- Roll to 1/4" thick
- Cut out cookies and refrigerate for 15 minutes
- Bake in 385 degree oven for 6-8 minutes
- Decorate and sit back and be impressed by yourself
No comments:
Post a Comment